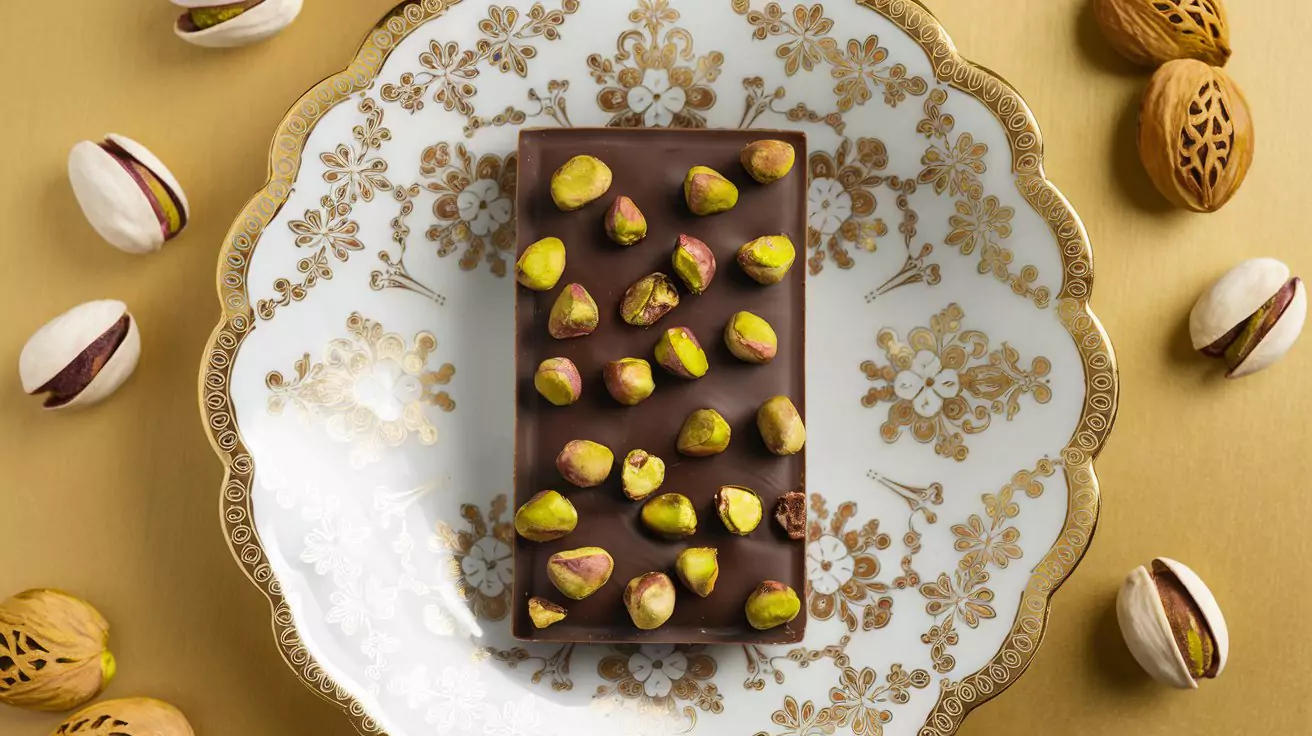
If you’ve been scrolling through social media lately, you’ve heard the buzz around the Dubai chocolate bar recipe. This deliciously indulgent treat has taken the internet by storm, and for good reason. With its rich layers of decadent chocolate, crunchy textures, and smooth, creamy fillings, it’s not just a dessert – it’s an experience.
But what makes the Dubai chocolate bar so unique? Is it the perfect balance of flavors, the satisfying crunch, or perhaps the Instagram-worthy appearance? Whether you’re a seasoned home baker or someone looking to try a fun new recipe, this viral dessert is easier to make than it seems.
In this post, we’ll break down every step, from gathering ingredients to perfecting the final touches so that you can recreate this irresistible treat right in your kitchen. Ready to impress your friends, family, or your taste buds? Let’s dive into the simple, satisfying process of making your own Dubai chocolate bar!
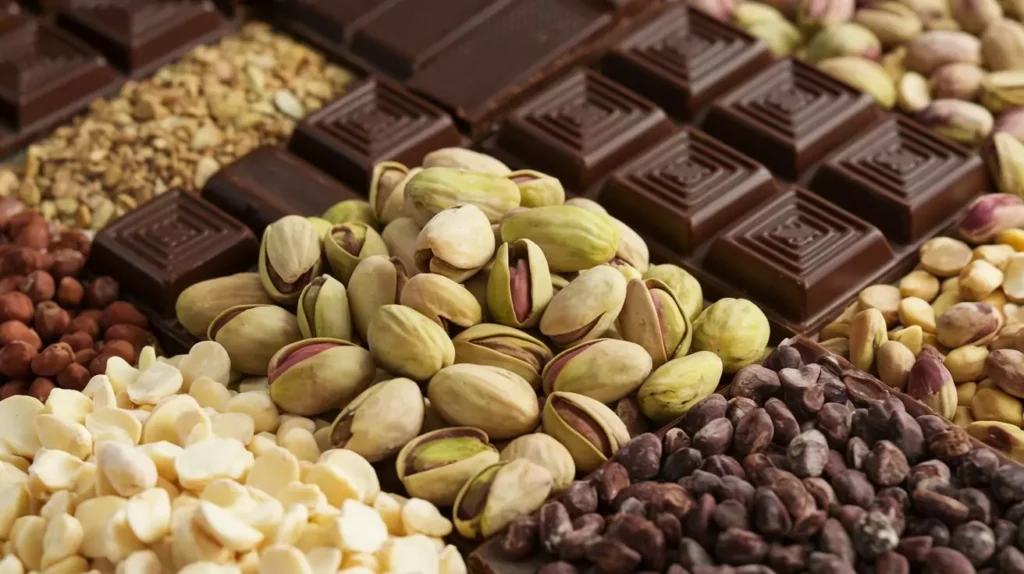
Understanding the Dubai Chocolate Bar: What Makes It Special?
Have you ever tasted a dessert that instantly transports you to a different place? That’s precisely what the Dubai chocolate bar does. This decadent treat isn’t just about satisfying your sweet tooth—it’s about indulging in layers of flavor and texture that come together most delightfully. But what exactly makes the Dubai chocolate bar so unique? Let’s dig deeper and break it into parts.
The Viral Dessert That Took Over Social Media
You may have seen pictures of these mouth-watering bars on Instagram or TikTok, with their glossy chocolate layers and eye-catching fillings. But it’s not just the aesthetic appeal that makes them viral—it’s the perfect balance of sweet and savory, crunchy and smooth. The Dubai chocolate bar recipe has captivated dessert lovers everywhere, offering a unique twist on traditional chocolate bars. The luxurious chocolate, decadent fillings, and satisfying crunches make this treat stand out.
A Taste of Dubai’s Sweet Innovation
Why Dubai, though? The city has long been known for its extravagant lifestyle, modern flair, and cutting-edge culinary creations. The Dubai chocolate bar draws inspiration from these characteristics, mixing bold flavors with premium ingredients to create something extraordinary. It’s not just a dessert; it reflects Dubai’s luxurious food culture—a place where culinary creativity knows no bounds.
The Key to Its Appeal: Layers and Textures
So, what exactly goes into making this viral dessert so irresistible? One of the key reasons the Dubai chocolate bar stands out is its distinct layers. Let’s take a brief glance at what sets it apart.
- The Chocolate Layers: A smooth, velvety chocolate coating forms the base, giving each bite a luxurious melt-in-your-mouth experience.
- The Crunch Factor: Whether it’s crushed cookies, nuts, or caramelized sugar, the crunch inside adds texture and contrast to the creamy chocolate.
- The Filling: Many variations of the Dubai chocolate bar include gooey fillings—think of caramel, nougat, or even a hint of salt for that perfect sweet-salty balance.
Its smooth, crunchy, and creamy combination takes this chocolate bar beyond the ordinary, giving it a complexity that other desserts can’t match.
Why You’ll Love It
You may be asking yourself, ‘Is it truly worth all the attention?” If you’re a fan of bold flavors and textural contrasts, then absolutely! The Dubai chocolate bar recipe allows you to play with various ingredients to create your perfect dessert. Plus, it’s fun to make, easy to customize, and a guaranteed crowd-pleaser—whether you’re hosting a dinner party or treating yourself.
If you love experimenting in the kitchen, the Dubai chocolate bar offers endless opportunities to get creative with flavors and textures. From adding a dash of sea salt to switching up the types of chocolate, there’s no wrong way to make this treat your own.
This section sets the stage for understanding the appeal of the Dubai chocolate bar, mixing in the essential elements that contribute to its viral success. We’ve used a conversational tone and strategic keywords like “Dubai chocolate bar recipe” to ensure SEO relevance without overstuffing the content.
Essential Ingredients You’ll Need
Now that you’re craving a Dubai chocolate bar let’s talk about ingredients. While the viral treat may look fancy, it’s surprisingly simple to prepare at home with just a few key ingredients. Whether you’re a baking pro or a newbie in the kitchen, this recipe doesn’t require any exotic or hard-to-find items. You probably already have most of these items sitting in your pantry!
The Basics: What You Need for a Classic Dubai Chocolate Bar
The magic lies in the balance of textures and flavors regarding the Dubai chocolate bar recipe. Here’s a rundown of the essential ingredients you’ll need to create the perfect dessert:
- High-Quality Chocolate: The star of the show! Whether you opt for dark, milk, or white chocolate, ensure its quality. Look for a chocolate that melts well and has a smooth, rich taste. The chocolate will form your bars’ base layer and outer coating, so choose wisely.
- Crunchy Add-ins: This is where the fun begins! Dubai chocolate bars are known for their delightful crunch. You can use various ingredients, like crushed biscuits, caramelized nuts, or crisped rice. The crunch not only adds texture but also enhances the overall flavor profile.
- Filling of Your Choice: The filling sets your Dubai chocolate bar apart. Classic options include gooey caramel, a silky ganache, or marshmallow fluff for extra sweetness. If you want to give it a more Middle Eastern twist, try adding dates or a hint of tahini for a unique flavor.
- Sea Salt (Optional): For those who enjoy the sweet-and-salty combo, sprinkling flaky sea salt on top of your chocolate bars can elevate the flavor to new heights. It brings out the richness of the chocolate and adds a sophisticated touch.
- Vanilla Extract (Optional): A small splash of vanilla extract can deepen the flavor of the chocolate, making it even more irresistible.
Substitutions & Variations to Experiment With
While the classic Dubai chocolate bar recipe is delicious, part of the fun is making it your own. Don’t be afraid to get creative with substitutions or additions. Here are a few concepts to inspire your thinking:
- Chocolate Varieties: If you’re not a fan of dark chocolate, feel free to swap it out for milk or white chocolate. Try mixing two types for a more complex flavor.
- Nuts and Dried Fruits: Add chopped dried fruits like cranberries or apricots for added crunch and tartness. Nuts like pistachios, almonds, or hazelnuts will make the bar more luxurious.
- Flavored Fillings: Want to shake things up? Try adding flavored creams like coffee, orange zest, or even mint. The Dubai chocolate bar recipe is versatile enough to accommodate different tastes, so feel free to experiment.
Where to Find These Ingredients
If you’re wondering where to source these ingredients, don’t worry—most are available at your local grocery store. High-quality chocolate bars are in the baking aisle, while biscuits or nuts are often in the snack section. Check out the international foods section or a specialty store for more exotic ingredients like tahini or dates. You can even look for specific flavors in Middle Eastern markets to be truly authentic.
By understanding the essential ingredients and how to customize them, you’re one step closer to creating your version of the Dubai chocolate bar. Whether you stick to the basics or get creative with substitutions, this recipe is a delicious way to experiment and elevate your dessert game. Excited to grab your ingredients and start baking? Let’s move on to the next step!
Step-by-Step Guide to Making Dubai Chocolate Bars
Ready to make your own Dubai chocolate bar? Don’t worry—it’s easier than you might think! You’ll indulge in this viral treat with the right iyou’llents and a few simple steps in no time. Whether taking it for a special occasion or satisfying your sweet cravings, this step-by-step guide will walk you through the process.
Step 1: Prepare Your Ingredients and Tools
Before you get started, it’s essential to have everything ready to go. Trust us, the more organized you are, the smoother the process. Here need to gather:
- Chocolate (your choice of dark, milk, or white)
- Crunchy add-ins like crushed biscuits or caramelized nuts
- A filling like caramel, ganache, or marshmallow fluff
- A pinch of sea salt (optional but highly recommended)
- A large mixing bowl, spatula, and a baking pan or mold
- Parchment paper for easy cleanup
Once you are in place, you can build your Dubai chocolate bars!
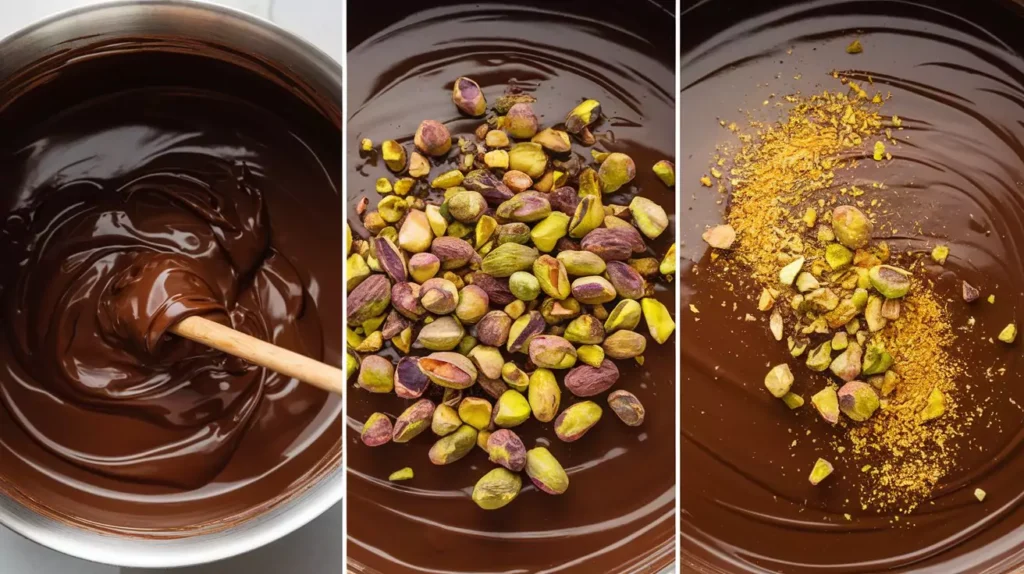
Step 2: Melt the Chocolate to Perfection
The first step in creating the base of your Dubai chocolate bar is melting the chocolate. Here’s how to do Here’s the right way:
- Cut the chocolate into small chunks for a smoother melt
- Melt it gently: You can do this in the microwave or over a double boiler. If you’re using the you’re, heat the chocolate in 20-30 second intervals, stirring in between, to avoid overheating. If using a doyou’reoiler, stir occasionally until the chocolate is fully melted and smooth in a heatproof bowl over simmering water.
- Add some oil or butter (optional) to make the melted chocolate more glossy and smooth.
Tip: Be patient! The smoother the chocolate, the better the final result.
Step 3: Create the Bottom Chocolate Layer
Once your chocolate is melted, it’s time to form the first layer of your Dubai chocolate bars. Here’s how:
- Line Here’s a pan or silicone mold with parchment paper to prevent it from sticking.
- Pour half the melted chocolate into the pan and spread it evenly with a spatula. This will be the base layer, so make sure the entire bottom is smooth.
- Let it set: Allow this layer to harden in the fridge for 10-15 minutes. This forms a strong base for the layers that follow.
Tip: If you want to speed up the process, pop the pan into the freezer for a few minutes instead.
Step 4: Add Your Crunchy Fillings
This is where the magic happens! Now that the first layer is set, it’s time to add the features and flavors that make the Dubai chocolate bar unique. Choose from:
- Crushed biscuits like Digestives or Graham crackers for a buttery crunch.
- Caramelized nuts or even candied popcorn for a bit of sweetness and crunch.
- Rice crisps or crispy noodles for a lighter texture that still packs a crunch.
Spread your crunchy fillings evenly over the chocolate base, pressing them down lightly to ensure they stick.
Step 5: Add the Filling
Next comes the indulgent filling. This is your chance to get creative! Here are a few options to consider:
- Caramel sauce: Drizzle a generous amount over the crunch layer for a rich, sweet contrast.
- Ganache: For a more luxurious, silky filling, spread a layer of ganache (made from melted chocolate and cream) over the crunchy layer.
- Marshmallow fluff: For a lighter, sweet filling that’s perfect with chocolate, use marshmallow fluff or a combination of marshmallow and peanut butter.
Spread your chosen filling evenly, making sure to cover the crunchy bits.
Step 6: Pour the Final Chocolate Layer
It’s time to do everything with the final chocolate layer:
- Pour the remaining melted chocolate over the filling and smooth it out with your spatula.
- Gently tap the pan on the counter to remove air bubbles and ensure an even layer.
Tip: For a little extra texture, you can sprinkle some sea salt on top at this point. It enhances the chocolate’s flavor chocolate, which has a sophisticated touch.
Step 7: Let It Set and Cut Into Bars
Finally, it’s time to let it’s Dubai chocolate bars set. Place the pan back into the fridge (or freezer for a quicker set) and allow the chocolate to harden completely—this should take about 30 minutes to an hour.
Once set, remove the bars from the pan, peel away the parchment paper, and cut them into squares or rectangles. Now, your Dubai chocolate bars are ready to enjoy!
By following these easy steps, you’ll have a batyou’llDubai chocolate bars just as that’s the viral versions you’ve seen onlinyou’vether. You make them for yourself or share them with friends and family, and they will surely them. Remember, the fun of this recipe is that you can make it your own—experiment with different fillings, textures, and chocolate types to create the perfect bar. Happy baking!
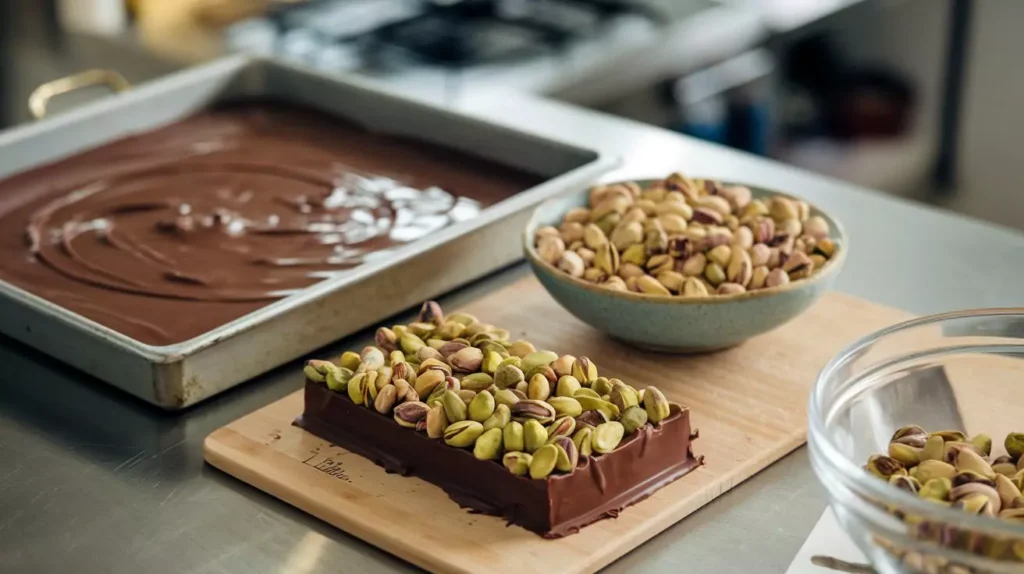
Tips for Perfecting Your Dubai Chocolate Bar
You’ve got the DuYou’veocolate bar recipe down, but how do you take your creation to the next level? Here are some expert tips to help you perfect your bars, ensuring every bite is as irresistible as the last. Whether you’re a seasoned beginner or a beginner, these tricks guarantee your Dubai chocolate bars stand out!
Achieving the Right Consistency
The texture of your Dubai chocolate bar is what truly makes it unique. Here’s how to getHere’sonsistency just right:
- Melt the chocolate slowly and evenly: If it becomes too hot or overheated, it can become grainy. The trick is to melt it over low heat, stirring constantly. If you’re using the you’re, go in short 20-second bursts to prevent burning.
- Work with room temperature ingredients: If you add filyou’relike caramel or ganache, ensure they’re not too cold when you layer them. Cold fillings can cause the chocolate to seize, leading to a bumpy texture instead of that smooth, glossy finish.
Get the Layers Right
The beauty of the Dubai chocolate bar lies in its layers. Here’s how to create perfect, uniform layers:
- Let each layer cool before adding the next. Patience is key! After pouring each layer of chocolate, allow it to set before adding the next layer or filling. This ensures that your layers stay distinct and don’t mix. Don’t read evenly: When adding your crunchy layer or filling, take the time to spread it evenly. This helps each bite have a consistent texture and flavor.
Avoid Overloading on Fillings
While adding lots of fittings is tempting, remember that balance is everything. Too many fillings can overwhelm the chocolate, making it cluttered. Instead, aim for a perfect balance between the smooth, rich chocolate and the crunchy or gooey fillings.
- Stick to 1 or 2 types of fillings: For example, you could combine a thin layer of caramel with a light sprinkle of crushed biscuits. This allows both flavors to shine without competing with one another.
- Layer with intention: Start with a solid chocolate base, layer your crunchy fillings, and finish with a gooey center. This will keep everything balanced and ensure each bite has a satisfying combination of textures.
Perfect Your Presentation
First impressions count; presentation is vital when serving your Dubai chocolate bars to friends or family. Here are some ways to elevate the appearance of your bars:
- Use a sharp knife for clean cuts: To get those clean, Instagram-worthy edges, use a sharp chef’s or serrated knife. Gently cut the chocolate after it’s fully set (but it’s too hard, as this can crack the bars).
- Top it off: Consider garnishing your bars with a sprinkle of sea salt, a drizzle of extra caramel, or even a dusting of cocoa powder. A little goes a long way in making your Dubai chocolate bars look like they came from a professional kitchen.
Storing Your Dubai Chocolate Bars
You’ve put in what you need and want to keep your creation fresh. Storing your Dubai chocolate bars properly will help preserve their flavor and texture for longer.
- Room temperature is best: Store your bars in an airtight container at room temperature. Chocolate tends to harden and become brittle if kept in the fridge, so avoid refrigerating your bars unless necessary (for example, if they’re filled with fresh items like fresh cream).
- Keep away from direct sunlight: Store the bars in a cool, dry place away from sunlight. Direct heat or light can cause the chocolate to lose its glossy finish and can even cause it to melt.
Following these tips, you’ll learn and elevate the basic Dubai chocolate bar recipe to the next level. Achieving that perfect melt-in-your-mouth texture, balanced flavors, and stunning presentation will make your bars the star of any occasion. You’re ready to impress your friends and family with your expertly crafted treat. Happy baking!
Conclusion
And there you have it—the ultimate guide to making your Dubai chocolate bar! From understanding what makes this viral treat so unique to perfecting every layer, you now have all the tools you need to create a dessert that’s as delicious and visually stunning. But what’s most exciting is that the Dubai chocolate bar recipe is fully customizable. The possibilities are endless, whether you prefer dark, milk, or white chocolate or want to experiment with fillings and textures.
As you take your first bite of that perfectly layered, chocolatey goodness, you’ll realize that your Dubai chocolate bars are fun and bring a little taste of luxury into your kitchen. Why settle for store-bought when you can create something much more indulgent and, dare we say, better?
Have you ever tried adding a salty twist with sea salt or maybe even a rich caramel filling? Or you’re curious about you’reping out fillings to reflect your taste. The charm of this recipe is in how versatile it is.Each time you make it, you can try new variations, and it’ll feel like a masterpiece every time.
So, what are you waiting for? Grab your ingredients, gather your creativity, and get baking! Whether for a special mission or a sweet personal treat, your homemade Dubai chocolate bars will impress. And don’t forget to share your results with friends and family or even on social media. Who knows? Your creation may go viral next!
Happy baking, and enjoy every delicious bite!
FAQ
- What is a Dubai chocolate bar? A Dubai chocolate bar is a decadent, multi-layered dessert that combines high-quality chocolate with crunchy textures and gooey fillings. It’s a viral treat. It’s known for its indulgent flavor and Instagram-worthy appearance. The recipe offers flexibility, so you can experiment with different types of chocolate, fillings, and crunchy elements to make it your own.
- Can I use any chocolate for the Dubai chocolate bar recipe? Absolutely! Based on your taste, you can opt for dark, milk, or white chocolate. Dark chocolate will provide a rich, slightly bitter contrast to sweet fillings, while milk chocolate offers a creamier taste. White chocolate will give a sweet and smooth base. Mix and match different chocolates for a more complex flavor profile!
- What are some excellent filling options for the Dubai chocolate bar? The filling is your chance to get creative! Some popular choices include Caramel for a sweet, gooey layer.
- Ganache for a smooth, rich center
- Marshmallow fluff for a lighter, fluffy texture
- Nut butters like peanut butter or almond butter for an extra creamy filling
- Dates or tahini for a Middle Eastern twist
- Can I make Dubai chocolate bars ahead of time? Yes, Dubai chocolate bars store well! Once they’ve set, store them in an airtight container at room temperature to keep them fresh. They should last up to a week, but if you want to keep them longer, you can store them in the fridge. However, chilling might affect the texture, especially if they have a lot of caramel or other soft fillings.
- How can I make my Dubai chocolate bars crunchy? The crunch factor is critical to a great Dubai chocolate bar. For a satisfying crunch, you can add crushed biscuits, caramelized nuts, rice crisps, or even crispy caramelized sugar. Press these fillings into the chocolate base to stick when the layers are set.

